Tracking visitor engagement on your WordPress site is important. It does not matter whether you own a blog, an e-commerce shop, or a business site; it is crucial to know where your traffic is coming from, the average session duration, and which pages are the top performers as this information can either help or destroy your business growth plans.
This is what Google Analytics provides. It is one of the most powerful tools that are completely free and offers a comprehensive and real time view of your website performance.
And the better news is that you do not need to know complex coding to install Google Analytics on your WordPress site; you simply need to follow the correct procedures.
Table of Contents
Why You Should Install Google Analytics in WordPress Site?
Prior to discussing the setup procedures, it’s important to pinpoint the advantages Google Analytics has to offer. The first thing it does is helps you make decisions and keep track of your progress via analytics instead of “feeling” or “gut” choices.
Modern analytics enables one to see how many people visited your site and where they came from – search engine, social media, or referrals – which device they used, and how much time they spent on the site. In addition, you will know which pages are most frequently visited, which pages have high bounce rates, and where users drop off on the page.
All of this is extremely important for content adjustments, design changes, and even path to conversion optimizations. Imagine going without these insights. You would be operating without any sight and that’s not something any serious site owner should ever consider.
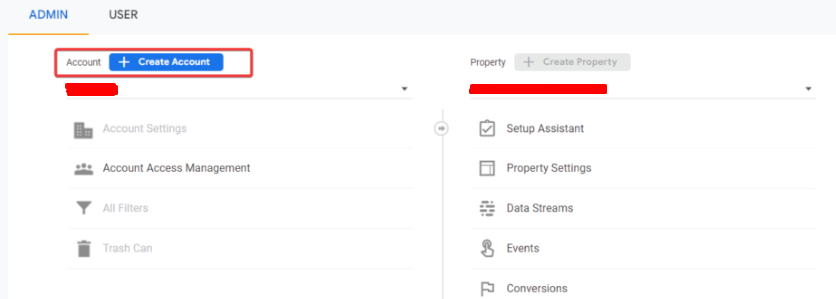
Steps to Install Google Analytics in WordPress
Step 1: Create a Google Analytics Account
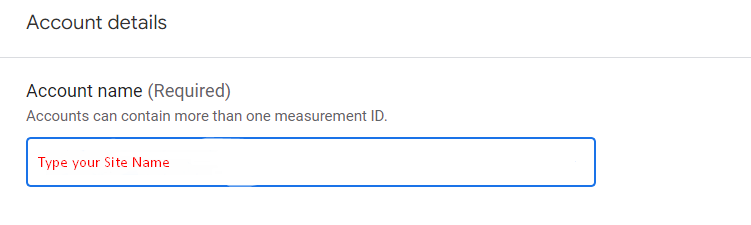
If you haven’t done it yet, the initial step would be to set up your Google Analytics account. Simply go to analytics.google.com and log into your Google Account. After that, click on the “Start measuring” button.

You will be asked to choose an account name, which could be your business name or something broader.
After that, you will input the specifics of your property which include the name of your website, its URL, time zone, and currency used.
Select the option “Web” to access data from your website. Following this step, Google will give you a tracking ID for Universal Analytics, or a measurement ID if you are using GA4, the standard version. This ID will be important later when connecting Google Analytics with WordPress.
Related blog post:
Step 2: Choose a Method to Add Google Analytics to WordPress
After obtaining your tracking or measurement ID, the next step is to set it up on your WordPress site.

A number of approaches can be taken based on the level of familiarity with plugins and code.
Using a plugin is the easiest way to go for beginners. Here, MonsterInsights ranks the best. The plugin is built for WordPress, thus it offers a platform that helps its users link the site to Google Analytics, doing it without any coding needed.

You’ll be taken through a setup wizard where you can link your Google account after installing the plugin. You will be monitoring information and getting an oversimplified version of your analytics on your WordPress dashboard. Another choice is the GA Google Analytics Plugin. It is simpler and less bloated, which is perfect for those who appreciate minimalism. All you need to do is copy your tracking ID and paste it in the plugin’s settings. After that, just save the changes and it’s done.
If you would like to add the tracking code yourself and work with theme files, please log into your WordPress dashboard. Once there, navigate to Appearance > Theme File Editor > header.php. You’ll want to paste the tracking code before the closing </head> tag. Remember to click “Update File” to apply the changes. While this method helps bypass plugin installation, it’s not the best approach if you change your theme later.
For power users and people who juggles multiple scripts, Google Tag Manager (GTM) may be a consideration. GTM is a free tool provided by Google where you can manage multiple tracking codes from one single interface. First signup and create an account and container in GTM. After that, you need to add the container’s snippet code to your WordPress site which can be done using a plugin or through manual code insertion. In GTM, you can now add a new tag, choose the option “Google Analytics: GA4 Configuration” and insert your measurement ID. Your data will start coming into Google Analytics after publishing the container.
Step 3: Verify That Google Analytics Is Working
After setting up Google Analytics, regardless of how you did it, the first thing you will want to check is if the application is tracking your data. The simplest way is to check the “Realtime” tab on Google Analytics and navigate to your site on a separate browser tab.
You should be able to see your activity in real time. If that is too much work, you can also install the Google Tag Assistant Chrome extension which verifies whether the tracking tags are configured correctly. Just remember that not all data is available right away; sometimes it can take hours and, at times, up to 24 hours for reports to completely refresh.
Conclusion: Install Google Analytics in WordPress
To install the Google Analytics in WordPress site is only part of the puzzle. The real value is in tracking your data and allowing it to shape your decisions over time. You can identify which posts are the most popular, which traffic sources lead to conversions and where users abandon the processes.
Such meaningful information allows you to craft your content better, enhance user experience, and grow your site in a more informed manner. Google Analytics is the versatile tool that empowers you to make insightful business moves no matter if you have a small blog or you are scaling up an e-commerce store.
(FAQs): Install Google Analytics in WordPress
1. Can anyone use Google Analytics without paying?
For website owners, Google Analytics does not come with a fee. There is a premium service named GA 360 available for large companies, but the free version is sufficient for small and medium-sized businesses.
2. Is GA4 better than Universal Analytics? Which one should I use?
Google made GA4 the default setting for new accounts and Universal Analytics was fully retired in 2023. GA4 should be used from now on because that is where all feature releases and enhancements will be offered.
3. Can I implement Google Analytics through several approaches?
You are able to do this, but it is not advisable. Multiple methods of tracking can produce duplicate information or tracking mistakes. Consistency in the method chosen allows for accuracy in analytics.
4. What could be the possible reasons why Google Analytics is not showing any data?
Data can take as long as 24 hours to show up. If more time passes, consider checking if the tracking ID is properly set up and confirm using Google Tag Assistant.
5. Does Google Analytics have an impact on the loading speed of my site?
Not particularly. Google has developed its tracking scripts in a way that they load asynchronously. This means they do not inhibit the loading of your site. As mentioned before, using too many plugins has a detrimental effect so try and use plugins that are light as frequently as you can.
6. Can I Track Other E-commerce Activities, Such As Sales and Conversions?
Yes sure. If you have a WooCommerce store, plugins such as MonsterInsights and Enhanced Ecommerce for GA4 will help track product views, cart actions, transactions, and revenue on Google Analytics.
7. Does changing a WordPress theme require the tracking code to be reinstalled?
Only if the code was added to theme files manually. If a plugin was used, the tracking continues to function even when there are theme changes.
Leave a Reply