Introduction #
Login customization has become an integral part of improving the user experience and branding for WordPress websites. The Advanced Login Customizer is a sophisticated tool that enables website owners to customize their login pages to represent their distinct brand identity while also boosting security and usability. This plugin offers a simple interface for changing different aspects of the login page, such as logos, background images, color schemes, and error messages, without the need for coding knowledge.
Benefits of Customizer #
- Wide-ranging Customization Options: Users of Advanced Login Customizer can change the logo, background, form styles, and button designs, among other components of the login page. In order to improve user experience and ensure that it is consistent with the website’s branding, users can also personalize the error messages that appear during login attempts, password resets, and registrations.
- User-Friendly Interface: The live preview function of Advanced Login Customizer lets users see their changes instantly. This implies that consumers don’t need to know how to code; they can quickly and easily construct a personalized login page by navigating through the options.
- Responsive design: The plugin makes sure personalized login pages load quickly and look fantastic across all platforms. This is essential since more people are using smartphones and tablets to visit websites.
- Pre-Built Templates: Users can select and further alter a number of pre-designed templates provided by the plugin. This helps users who want to create a distinctive style without beginning from scratch and saves time.
Installation #
Using The WordPress Dashboard #
- Navigate to the ‘Add New’ in the plugins dashboard
- Search for “Advanced Login Page Customizer”
- Click Install Now
- Activate the plugin on the Plugin dashboard
Uploading in WordPress Dashboard #
- Navigate to the ‘Add New’ in the plugins dashboard
- Navigate to the ‘Upload’ area
- Select advanced-login-page-customizer.zip from your computer
- Click ‘Install Now’
- Activate the plugin in the Plugin dashboard
Using FTP #
- Download advanced-login-page-customizer.zip
- Extract the ‘advanced-login-page-customizer’ directory to your computer
- Upload the ‘advanced-login-page-customizer’ directory to the /wp-content/plugins/ directory
- Activate the plugin in the Plugin dashboard
Access to Customizer #
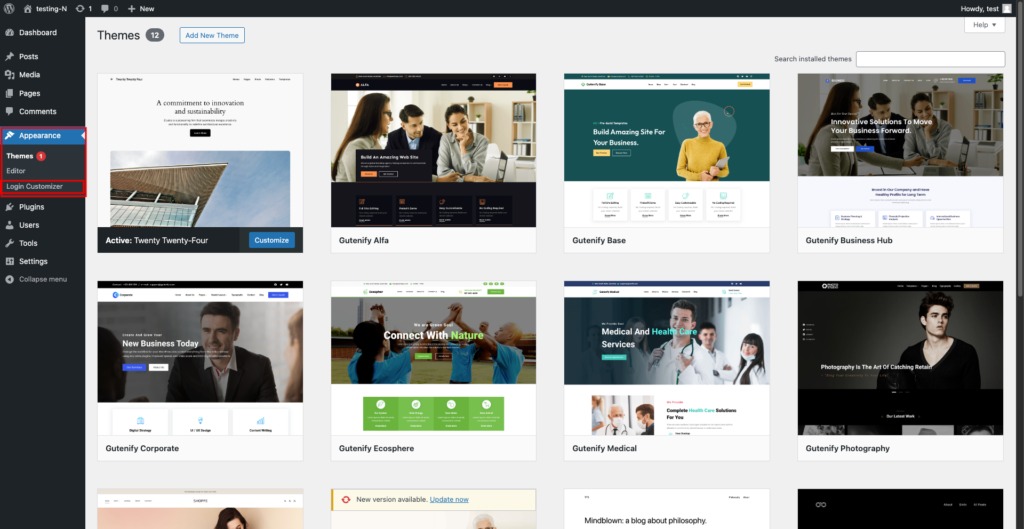
After completing the installation and activation of the plugin, navigate to WordPress Dashboard → Appearance → Login Customizer to access the customization options.
Customizing the Login Page #
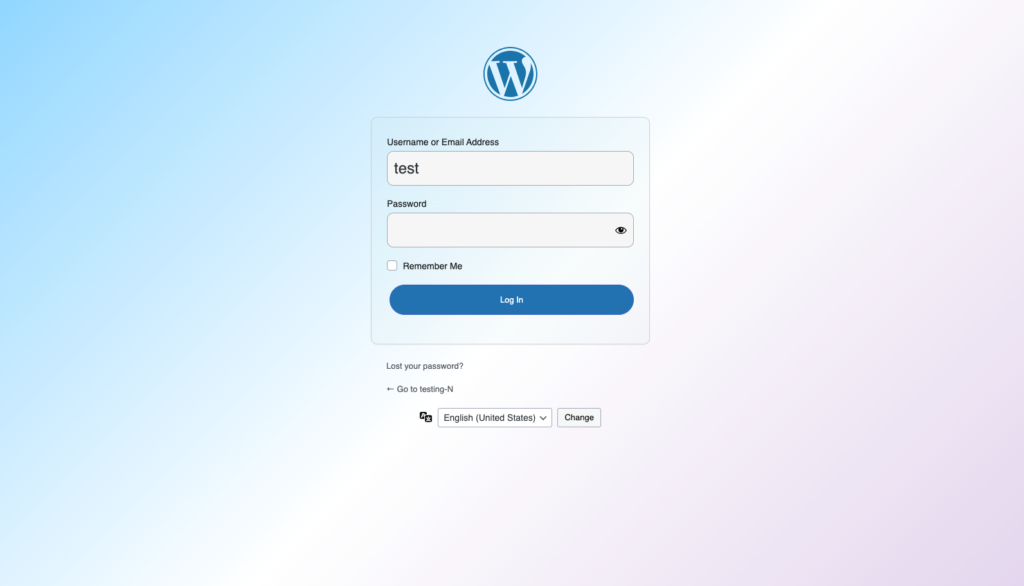
You will be taken to the customization page after clicking on the Login Customizer, where the standard WordPress login page will be displayed.
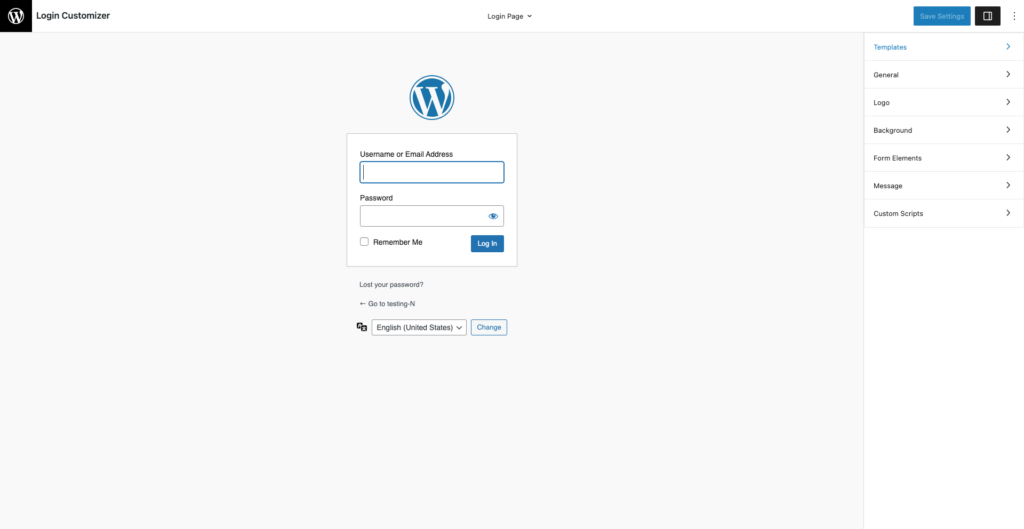
The right sidebar contains all of the available customization choices for improving the appearance of your login page.
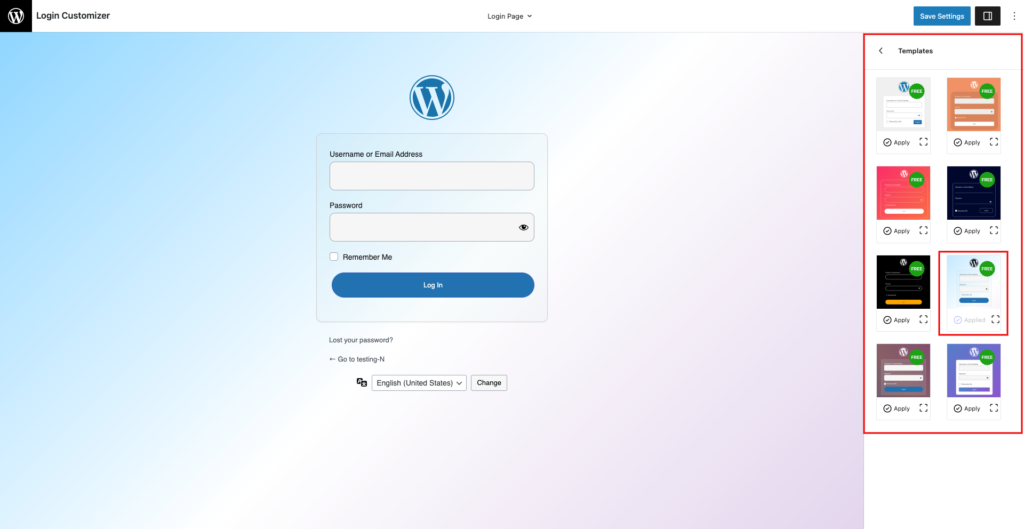
Choosing Templates #
We provide a number of pre-built templates that may be utilized immediately to improve your login page. These templates offer a variety of elegant designs, allowing you to rapidly achieve a professional appearance without substantial customisation. Each design is entirely customizable, allowing you to simply change colors, fonts, and pictures to match your brand identity.
General Setting #
You can change the text color and link color for all elements on the login page, allowing for greater customization to match your branding. Additionally, you have the option to add a page title, giving your login page a more personalized touch.

Customizing Logo #
Disable Logo Option
If you prefer a minimalist approach, you may easily disable the logo entirely, resulting in a clean and straightforward login experience.
Custom Logo/Site Logo
To further personalize your login page, upload a custom logo from your computer. This allows you to utilize any image that reflects your brand identity, or you can use the logo you’ve previously created for your website. This maintains continuity throughout your website’s branding.
Dimensions
To guarantee that the logo fits precisely within the login form, define its width and height.
Spacing
Use padding and margin options to customize the spacing around your logo. This guarantees that your logo is clearly shown and properly aligned with the other items on the page.
Logo URL/Title
You can specify a URL to which the logo will connect, bringing people to a relevant website when they click the logo. You can also add a title to your logo, which can provide more context or branding information when users hover over it.
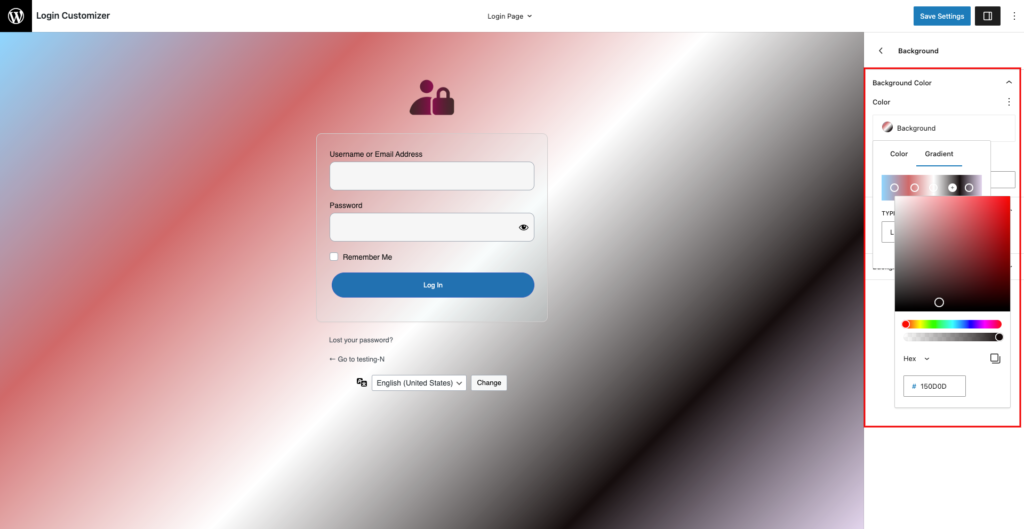
Adjusting Background #
We provide several options for modifying the background, including background color, background picture, and video.
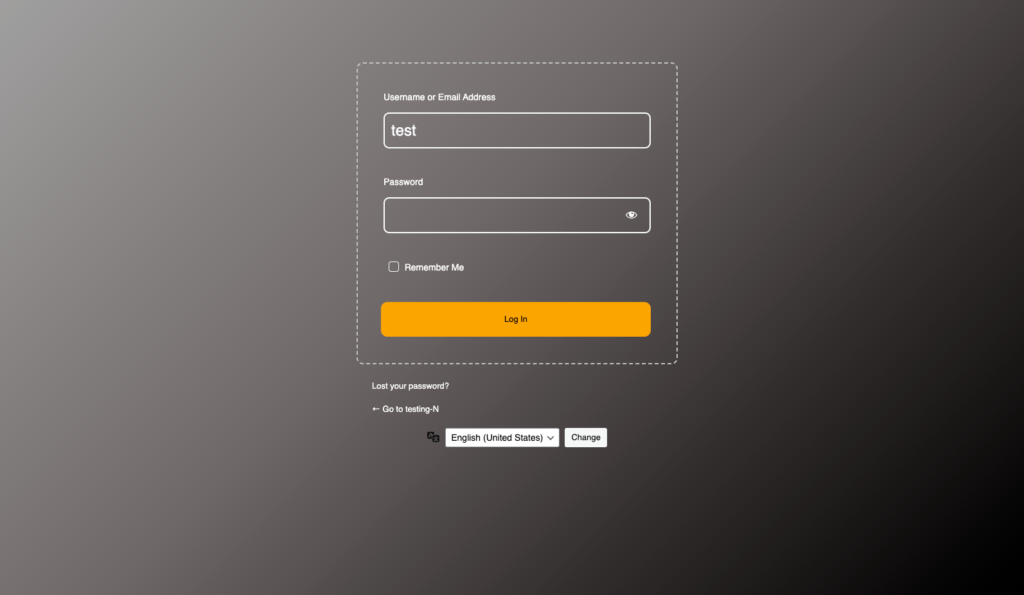
Background color
- Solid Color Selection: Choose a plain or normal color for a clean look.
- Gradient Background: Combine multiple colors for a dynamic visual effect.
- Customizable Color Options: Easily adjust colors to match your brand identity.
- User Experience Enhancement: Create a more engaging and visually pleasing experience for users.

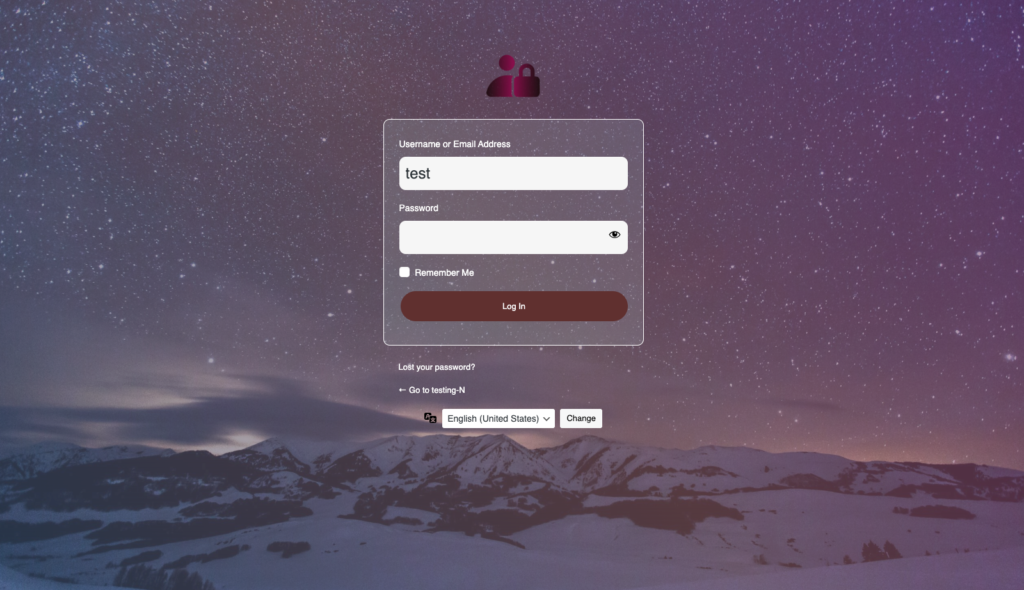
Background Image
- Custom Background Image: Upload an image that is consistent with your identity.
- Image Positioning: Adjust the image’s position as needed
- Image Repeat Options: You can choose to repeat the image or keep it static.
- Background Size Adjustment: Use “cover” to fill the area, or “contain” to show the complete image.
Background Video
- Custom Video Upload: Upload your own video for a personalized background.
- YouTube Video Integration: Use a YouTube link to easily add a video.
- Video Positioning: Specify the position of the video to align with your design.
- Video Size Adjustment: Customize the size of the video for optimal playback.
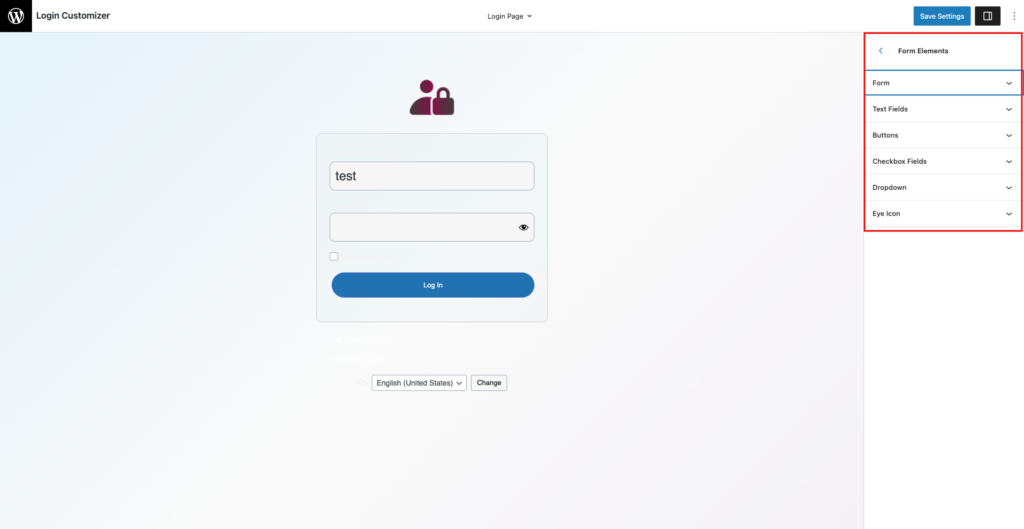
Form Elements #
The form element options enable you to personalize the various components of your login form, improving user experience and functionality. Here’s an overview of the available elements:
- Form Layout: Modify the form’s overall layout, including alignment and spacing, to maintain a clean and ordered appearance.
- Text Field: Set the appearance and functionality of text fields where users enter their credentials. You can change the labels, placeholder text, and design to guarantee clarity and accessibility.
- Button: Change the appearance of the login button, including color, size, and text. This guarantees that it stands out and prompts users to act.
- Checkbox Field: Create a checkbox for options like “Remember Me.” You can change the label and style to fit your overall design.
- Dropdown Menu: Add a dropdown menu for additional options, such as language selection or other user preferences, to improve usability.
- Eye-Icon: Use an eye icon for password visibility, allowing users to readily view or hide their typed passwords. This feature enhances the user experience by eliminating errors during login.
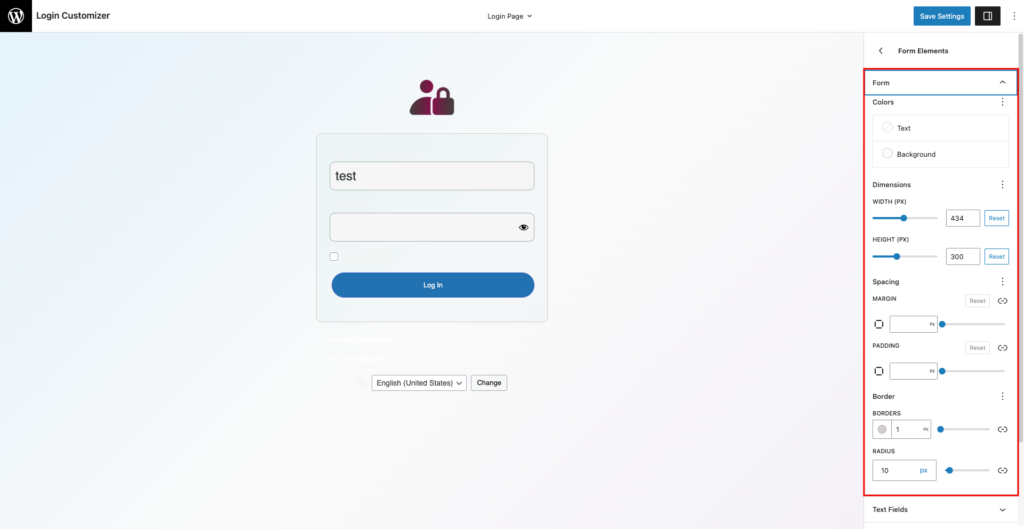
- Text Color/Background Color: Customize the background color and color of the text for improved visibility and branding.
- Width and Height: Adjust the dimensions of form elements for optimal layout.
- Spacing: Modify padding and margins for better organization and alignment.
- Border: Customize border color and style to enhance the form’s appearance also adjust border radius for rounded corner.
These features allow you to develop a personalized and user-friendly login form.
Messages #
To improve the user experience, you can modify your login page’s error, success, and instructive messages. Customize error messages for clear feedback, tailor success messages to confirm logins, and include instructive messages to provide direction. This change creates a welcoming environment, allowing users to traverse the login procedure more simply.
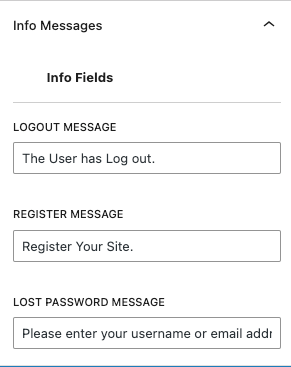
info Field
This section contains messages for Login/Logout, Registration, and Lost Password notifications.
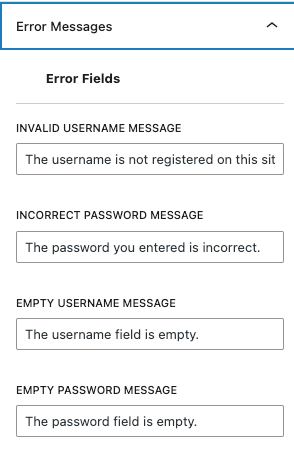
Error Field
This section contains messages for Error/Empty Username and Error/Empty Password, Registration
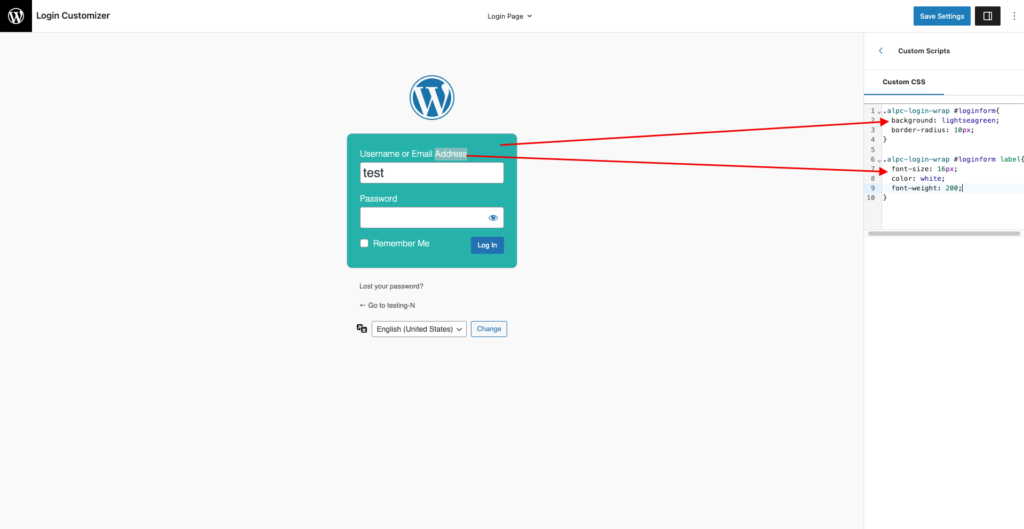
Custom Scripts #
The Custom Scripts feature lets you improve the style and functionality of your login page by allowing you to use your own custom CSS and JavaScript(Pro).
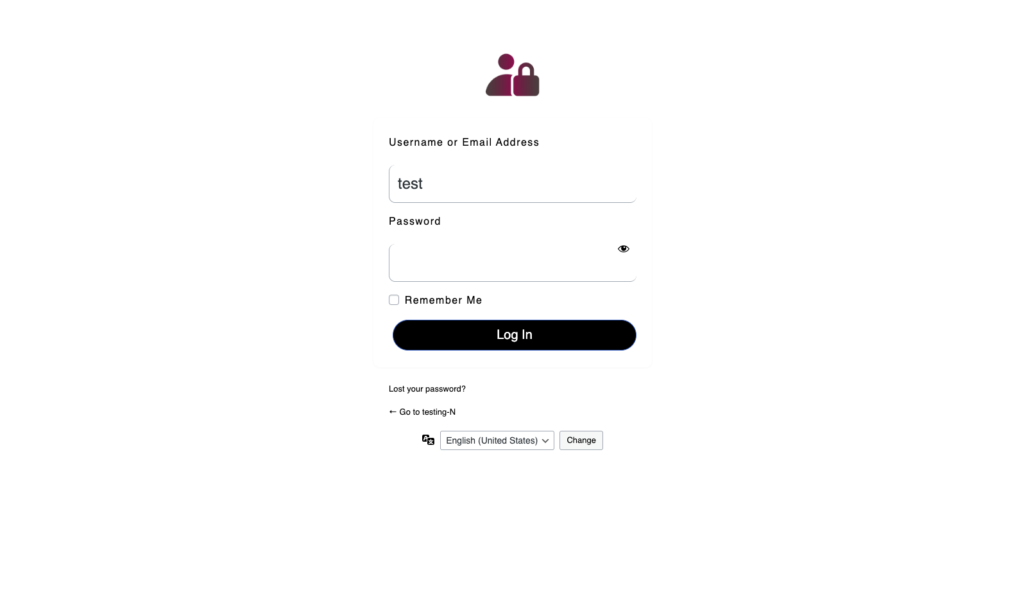
Final Results #